
Create a Futuristic Touch Screen Interface
- Program: Photoshop/Illustrator CS5
- Difficulty: Advanced
- Estimated Completion Time: 25 - 30 Hours
Download Source Files
- Source files for this tutorial are available to Premium members.
Get a Premium Membership
Final Product What You'll Be Creating

Touch screen interfaces are everywhere these days. You can see them on television, in movies, on the web, and especially on your mobile device. In this tutorial we will explain how to create a touch screen interface for a futuristic spacecraft. In the process we will show the digital illustration process from sketch to vector tracing to Photoshop rendering. Let’s get started!

Step 1
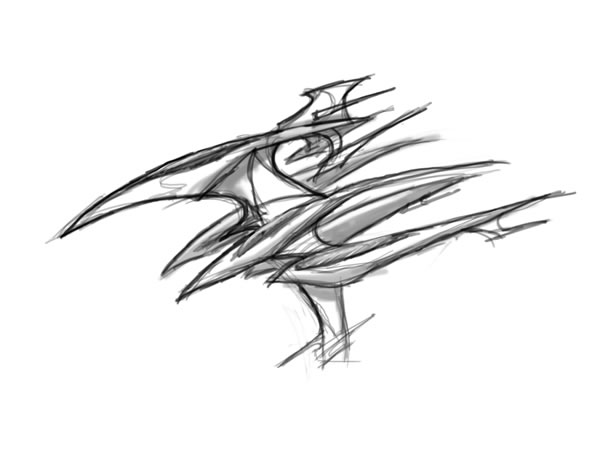
First lets start by making a quick concept sketch of our spacecraft. Grab a pen/pencil and paper and roughly sketch out your idea. Take a Hi Res scan or photo of the drawing. For those of you who use a tablet, you can simply sketch out your idea directly in Photoshop.Step 2
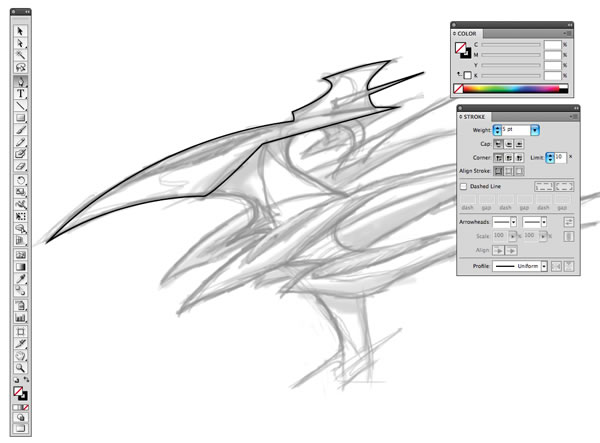
Now we are going to start vectoring your lines. Open your sketch jpeg in Illustrator. With the Pen tool (P) start tracing one part of your drawing. Use the converter tool (Shift + C) and click and drag the anchor points to follow any curves you may have.Step 3
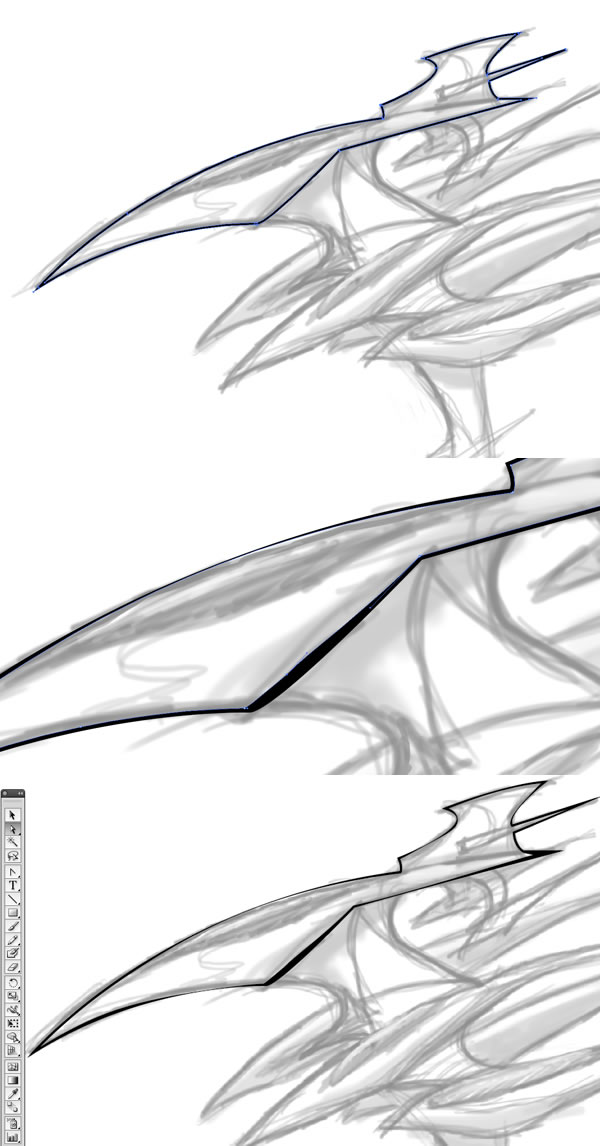
With the path selected go to Object > Path > Outline Stroke. This converts your path into a shape. With the direct selection tool (A) you can now shift the new anchor points to thin out or thicken your line work at various spots. This should provide more of a “comic book inking” aesthetic.Step 4
Continue this process for the rest of the drawing. Don’t be afraid to add extra details to really flesh out the idea.Step 5
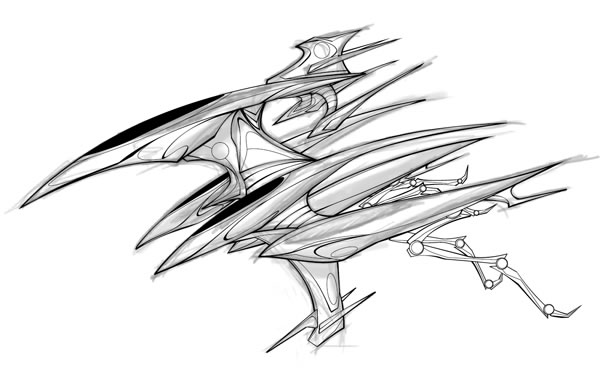
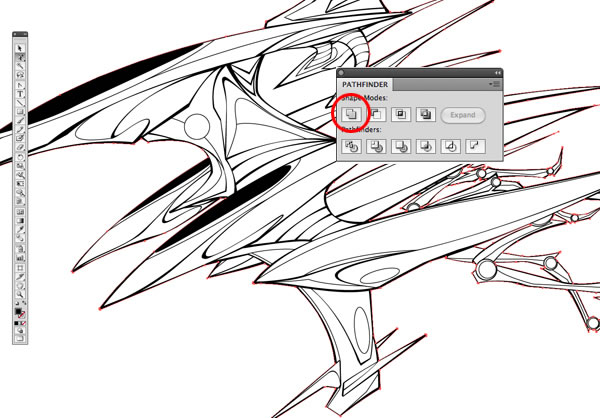
Next we are going to fill our illustration with some shades. First, get rid of your sketch since we won’t be needing it anymore. Select all the lines and go to your Pathfinder tab (Shift + Command/Ctrl + F9). Option + Click on the Unite tool and click Expand. With the Group Select Tool (Shift + A) select the path at the outer most perimeter and paths surrounding any negative space in your illustration. Copy your selection.Step 6
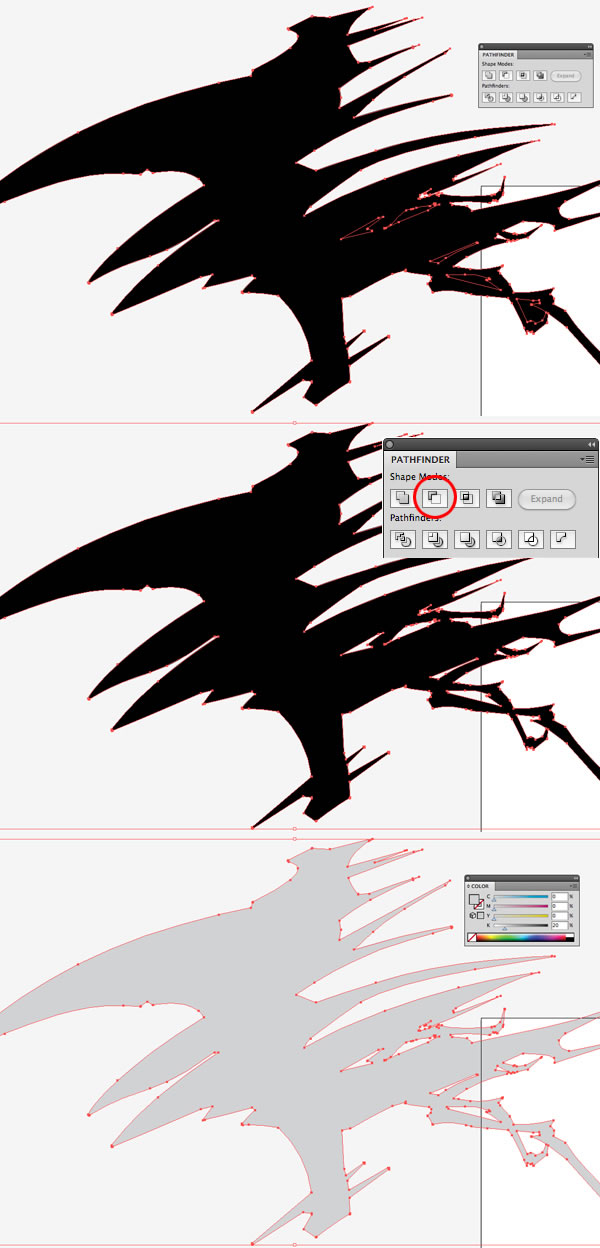
Paste your selection and you should have a silhouette of your drawing and a few other shapes. Option + Click on the Minus Front tool in your Pathfinder tab to create any pockets of negative space you have in your illustration, then click Expand. (Make sure your cutting shapes are above your larger silhouette. Next we’ll make the fill color a light grey.Step 7
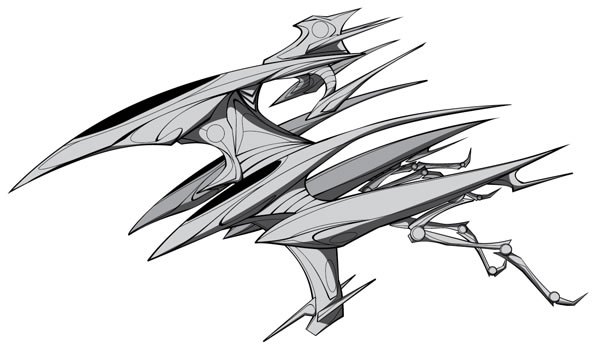
Place the shading within your lines. Use the pen tool to add some more shading and shadows throughout your illustration, using various shades of grey.Step 8
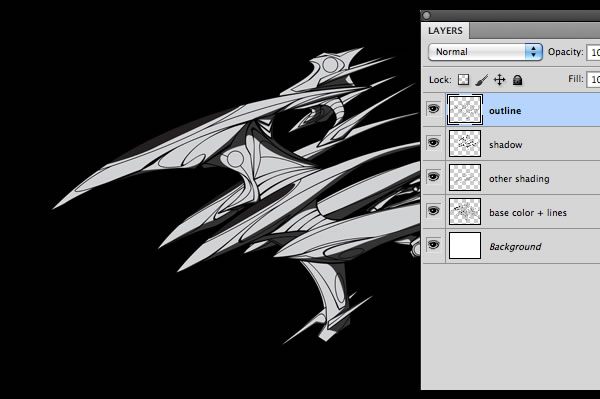
Now let’s move all of our vector elements into Photoshop. Open a new file in Photoshop. Set the background to black. Copy and paste all of your illustrator elements in Photoshop starting with a layer that has your line work and base color combined, then bring in your line work, shadows, and any other forms of shading individually. It’s recommended that you be very organized during this tutorial as things could get a little messy. It’ll get easy to lose track of where everything is, so name all your layers and place them into groups whenever necessary!Step 9
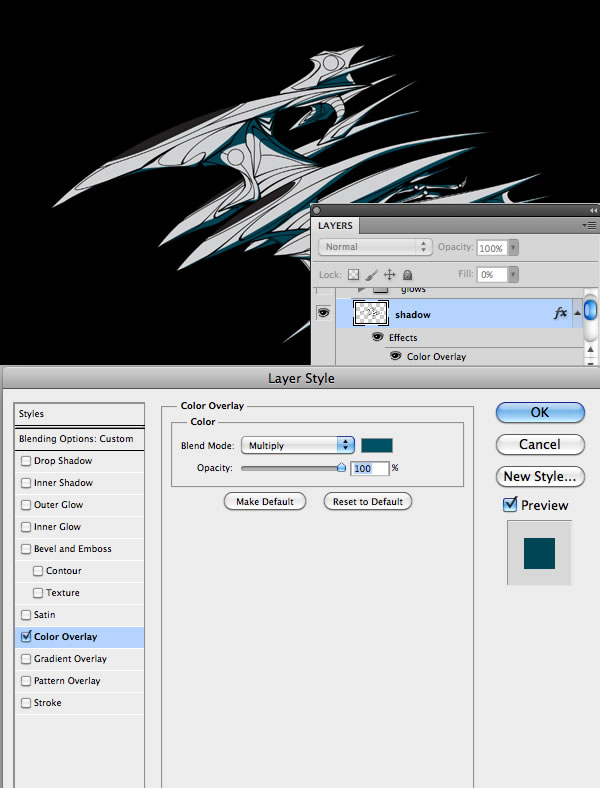
For our shadows, set the Master Fill to 0% and a Color Overlay, #005064. Set the Blend mode to Multiply.Step 10
Now add dark blue, #180055, color overlays to your outlines and any other shading you may have. Here we can also start to layer mask with a soft air brush. For those who don’t use a tablet, be sure to play around with brush opacity and flow settings to have various brush strengths.
No hay comentarios:
Publicar un comentario